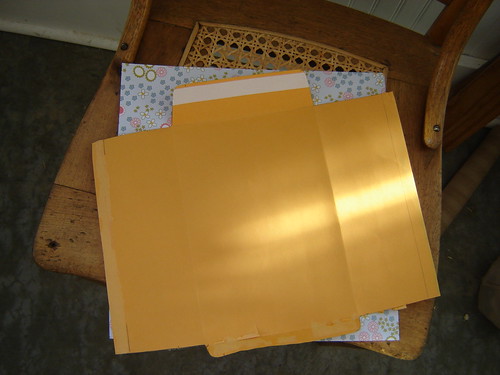
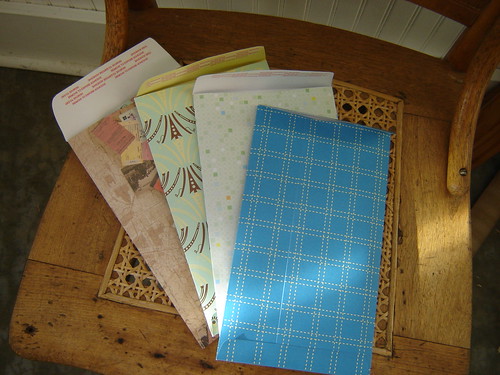
There are a lot of envelope templates out there, some you can even buy - now why would you do that when you can just copy any old envelope on your own? Here is a brief tutorial on how I copied my favourite envelope size. It's 6.5" by 9.5" and it's a good size for mailing photos or fat quarters (more later).
You will need:
pencil, scissors, ruler, double sided tape.
an envelope that you want to copy.
a piece of scrapbook paper.
1. Carefully open the envelope to be copied along all the glued edges until it is a flat piece of paper.
2. Trace the envelope on the back side of the scrapbook paper. My envelope was slightly wider than the scrapbook paper so I took an inch off the front panel width and a half inch off each back flap. This was done by first tracing one side, then shifting the template over an inch and tracing the other side. The finished envelop is now 5.5" by 9.5".
3. Cut along lines and fold all flaps - use a scoring tool if you have one or just fold flap over your ruler and press with finger.
4. Place double sided sticky tape along long side edge, peel and seal. Place another piece of tape along bottom flap, peel and seal. Place a third piece on the top flap, don't peel and seal until your ready to use it!
That's it - so each and so pretty to receive in the mail don't you think?
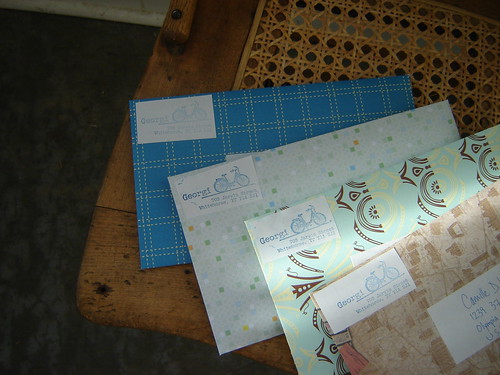
These envelopes are filled with fat quarters to send to my Sew Mama Sew fat quarter swap partners. I will also receive 4 fat quarters in the mail shortly - can't wait!